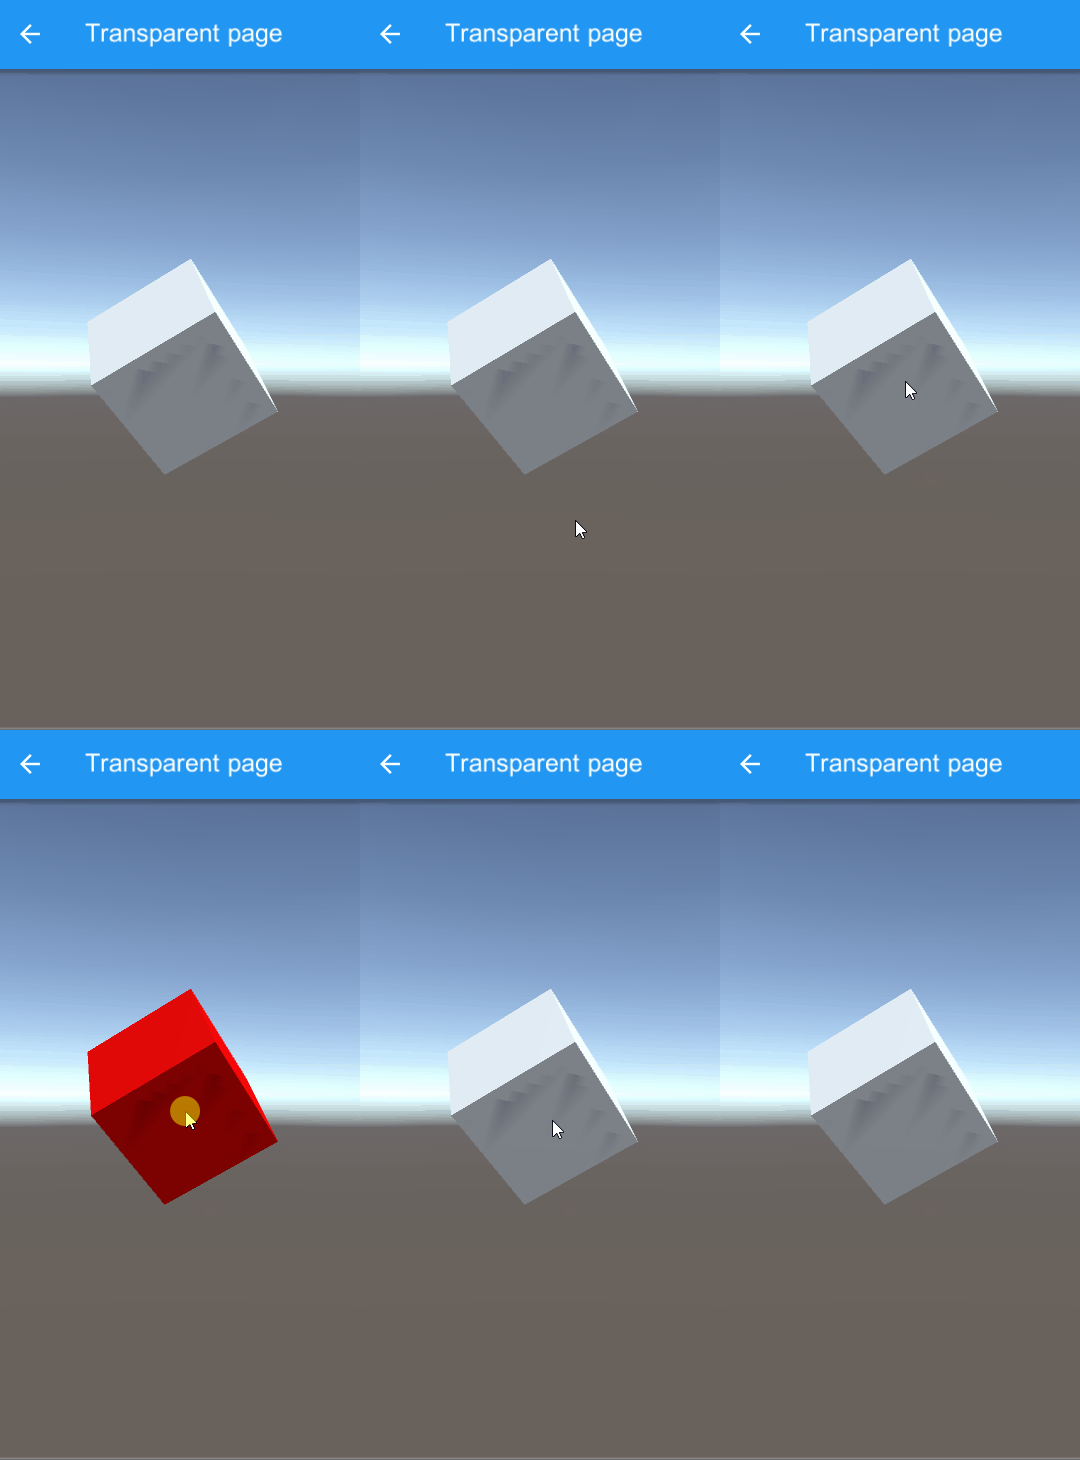
デフォルトだと UIWidgets が全てかっさらってしまって、例えば Cube に EventTrigger をしかけて、UIWidgets に全面透明な画面とかを置いてもクリックが反応しないみたいです。 解決策として、以下の Issue にコードが載ってます。
一応念のためコードだけここにも複製。
using Unity.UIWidgets.engine;
using UnityEngine;
using UnityEngine.UI;

[DisallowMultipleComponent]
[RequireComponent(typeof(UIWidgetsPanel))]
public class UIWidgetsRaycastFilter : MonoBehaviour, ICanvasRaycastFilter
{
    public bool reversed;

    private UIWidgetsPanel rawImage;

    void OnEnable()
    {
        rawImage = GetComponent<UIWidgetsPanel>();
    }


    public static Texture2D toTexture2D(RenderTexture rTex)
    {
        Texture2D tex = new Texture2D(rTex.width, rTex.height, TextureFormat.RGBA32, false);
        RenderTexture.active = rTex;
        tex.ReadPixels(new Rect(0, 0, rTex.width, rTex.height), 0, 0);
        tex.Apply();
        return tex;
    }

    public bool IsRaycastLocationValid(Vector2 screenPoint, Camera eventCamera)
    {
        if (!enabled)
            return true;

        Texture2D texture = null;
        var w = rawImage.texture;
        texture = toTexture2D(w as RenderTexture);
        if (texture == null)
            return true;

        Vector2 local;
        RectTransformUtility.ScreenPointToLocalPointInRectangle(rawImage.rectTransform, screenPoint, eventCamera, out local);

        Rect rect = rawImage.rectTransform.rect;

        // Convert to have lower left corner as reference point.
        local.x += rawImage.rectTransform.pivot.x * rect.width;
        local.y += rawImage.rectTransform.pivot.y * rect.height;

        Rect uvRect = rawImage.uvRect;
        float u = local.x / rect.width * uvRect.width + uvRect.x;
        float v = local.y / rect.height * uvRect.height + uvRect.y;

        Debug.Log("alpha = " + texture.GetPixelBilinear(u, v).a);

        try
        {
            if (!reversed)
                return texture.GetPixelBilinear(u, v).a != 0;
            else
                return texture.GetPixelBilinear(u, v).a == 0;
        }
        catch (UnityException e)
        {
            Debug.LogException(e);
        }

        return true;
    }
}
このコードを使うと透明な部分は Raycast が裏まで届くようになるらしい。原理は…知らない。 上記のスクリプトを Panel に追加して、以下のような画面を表示します。
class TransparentState : State<ThreeDementionInteractionWidget>
{
    public override Widget build(BuildContext context)
    {
        return new Scaffold(
            backgroundColor: Colors.transparent,
            appBar: new AppBar(title: new Text("Transparent page"))
        );
    }
}
そうすると、こんな感じに動きます。

一応、Android の実機にもデプロイして試してみたら同じように動きました。